Add Email Account
To add all your email accounts to Thunderbird:
- Open Thunderbird.
- Go to the Tool menu.
- Click Add Account… on the lower-left side.
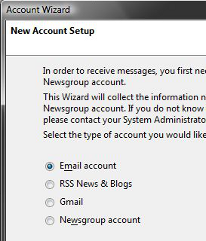
- Choose the type of account and click Next.
- Open Thunderbird.
- Go to the Tools menu.
- Select Account Settings.
- Click Add Account… on the lower-left side
- Choose the type of account and click Next.
- For all web-mail or hosted mail other than Gmail, choose Email account.
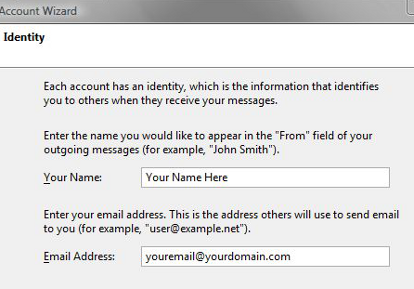
- Enter your name and email address and click Next.
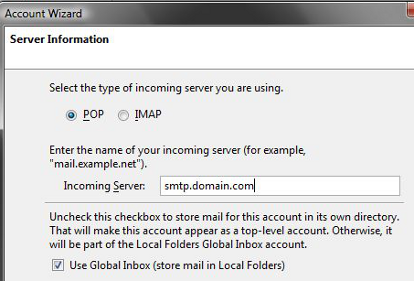
- Enter the account settings for this particular email address. These settings can usually be found on either the Help or Settings page of your email provider.
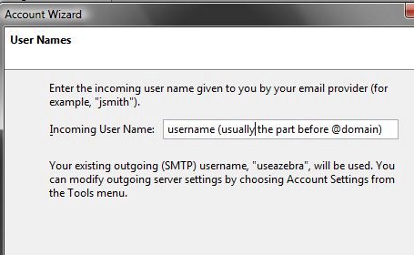
- Enter the username you use to access your email.
- Name the account (e.g.: Comcast).
- Verify that all information entered is correct, and Finish adding the account.
- You can change the server and username settings at any time by going to Tools > Account Settings…
Account Identity
Server
User
Thunderbird has now added the email account, and you can see it on your settings page. Take a moment to look at your settings. You can customize how and when Thunderbird will check each account. You can choose how and where Thunderbird saves copies of sent mail, drafts, etc. You can choose not to download large messages, change junkmail settings, and look at the account’s security settings. Most of these settings are advanced and are not important for Total, Relaxed Organization.
Click the Get Mail button at the top of Thunderbird to test your new account. If Thunderbird cannot get your email, check the account settings in Thunderbird against the settings given by your email provider.
Repeat the steps above for all the email accounts you regularly use.
Recent Comments