Main Folder
your main folder’s name is your Wrike account’s name

Access Wrike’s Dashboard View
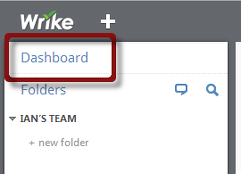
Follow these steps to configure Wrike effectively for TRO:
- Log in to your Wrike Account.
- Disable or delete default widgets from Wrike’s Dashboard view.
- Click
 , then
  .
. - Disable a widget from dashboard view: uncheck
 by clicking the widget name, or
 - Delete a Widget: click
 next to the widget name, then click Yes.
- Click
- Click
 next to your account name (upper right), then click
  (right side, top menu).
- Set your current Time zone.
- Set your Language.
- Click
 .
.
- Click
 (left pane).
- Set your notification preferences. (Todo emails, Notification of changes), or
- Disable these by unchecking Send daily at, then setting Notification of changes to Never.
- Click
 (top menu), then click
  (left pane).
- Set your preferred Account name. This will also be your main folder’s name.
- Select your preferred Working days and Date format.
- Click .
- Click
 (upper right).
 - Create Folders:
- Under
 , right-click on your wrike account’s name (folder), then select Add folder.
 - Populate
 with the word:
 Contexts . - Press Enter.
- Right-click on your wrike account’s name (folder), then select Add folder.
- Populate with the words:
Soft Dates . - Press Enter.
- Under
Create Dashboard Widgets for Different TRO Views:
- Click your Wrike account’s name (left of screen, Wrike’s main folder).
- Set to Hide descendants (top menu should show
 if not, hide descendants by clicking
  ).
). - Click the link besides Sort by, then select Importance.
- Click
 , then click
  .
. - Populate field with the words:
TRO Unprocessed Tasks , then click .
. - Click your Wrike account’s name (left of screen, Wrike’s main folder).
- Set to Show descendants (top menu should show if not, show descendants by clicking ).
- Click the link besides Sort by, then select Date.
- Click , then click .
- Populate field with the words:
TRO Hotlist , then click.
All other TRO setup (such as adding contexts) will happen during the course of your TRO training.
Recent Comments